


I love riding bicycles, but it wasn’t until after thru-hiking several long-distance trails (the Pacific Crest Trail, the Continental Divide Trail, and the Arizona Trail) that I first heard the term bikepacking. It didn’t take long before I started dreaming up bikepacking adventures of my own.
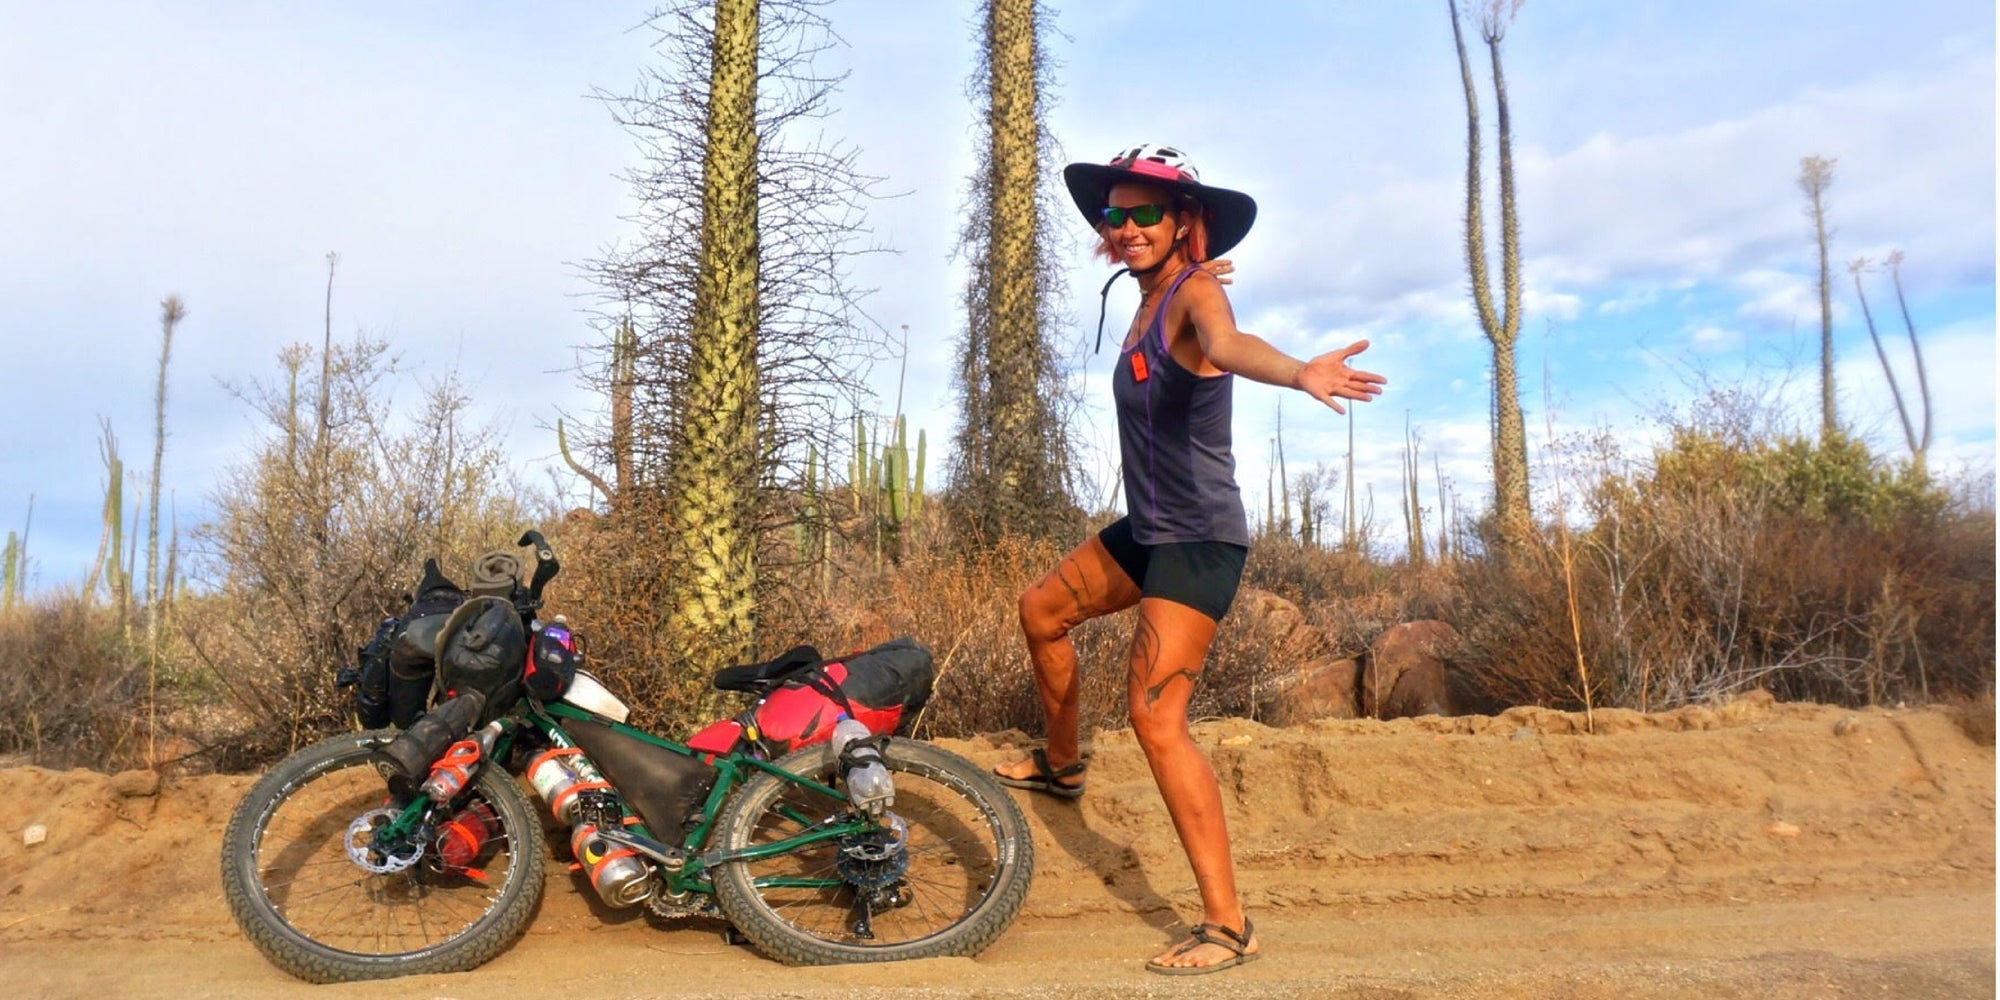
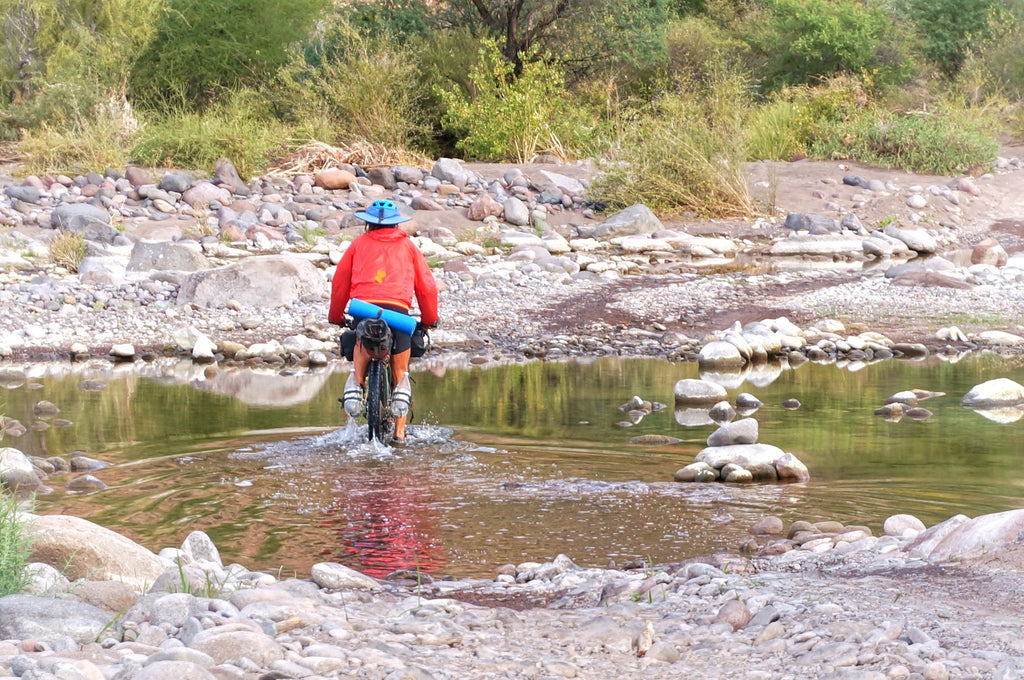
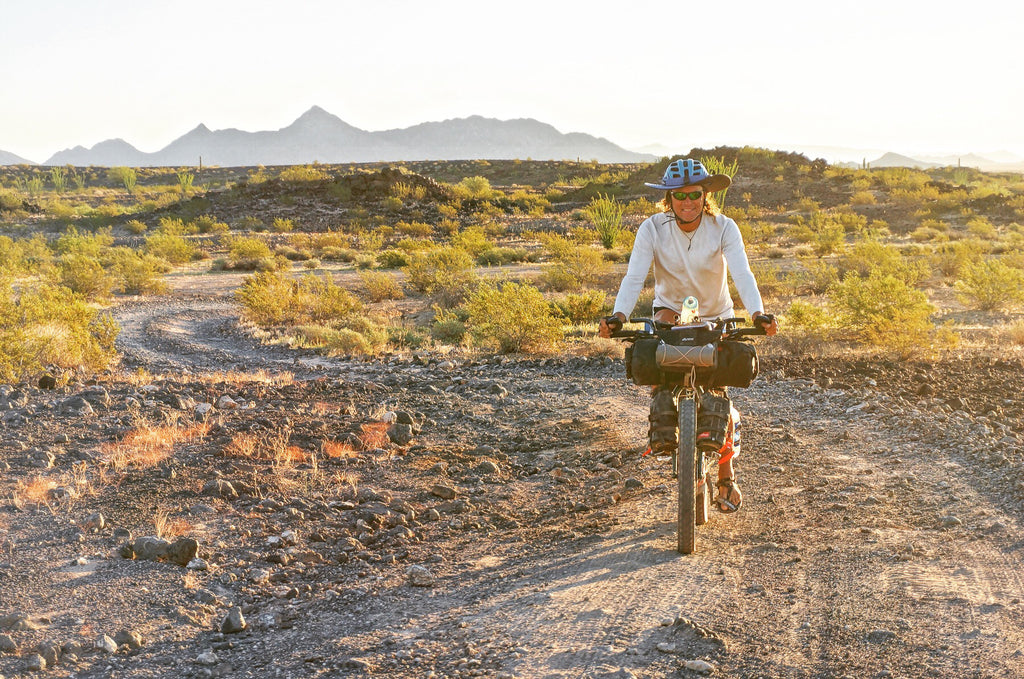
Currently I’m riding through Mexico, from my home in Arizona, with a plan to ride to Tierra del Fuego (the southernmost tip of Argentina). Aside from getting to Argentina, the goal is to ride as much dirt as possible, sticking to trails and dirt roads in the backcountry. When I first started this adventure, my friends kept asking me, “What is bikepacking?”, and “Why don’t you have panniers?”.
Simply put, bikepacking is: Overnight backcountry travel on a bicycle with a minimalist gear setup. The minimalist gear setup makes riding rough dirt roads and trails more comfortable. It’s a lot like thru-hiking, in that the key is traveling light, except most of time you’re pedaling instead of walking.
Unlike cycle touring with bulky panniers, bikepacking bags are generally rackless, small, and have a slim profile, so you can ride trails and rugged dirt roads. Learning how to pack light is key to bikepacking. But even still, what gets packed and how much to pack depends on the adventure... how long is the trip: is it a weekend trip, a month, a year? What kind of terrain is it: singletrack rugged trails, or dirt roads? And of course, personal preference: there will always be that thing you like to take along that everyone tells you you don’t need. But in general, less stuff really is more fun; it just takes a little time to learn what minimalist setup will keep you safe, and happy, in the backcountry.
I’ve compiled a list of things I’ve learned over the years for traveling light in the backcountry. If you’re new to bikepacking, and backcountry travel, or you’re just interested in how to lighten your load, this list will help you get started.
ON THE BIKE & IN THE BAGS
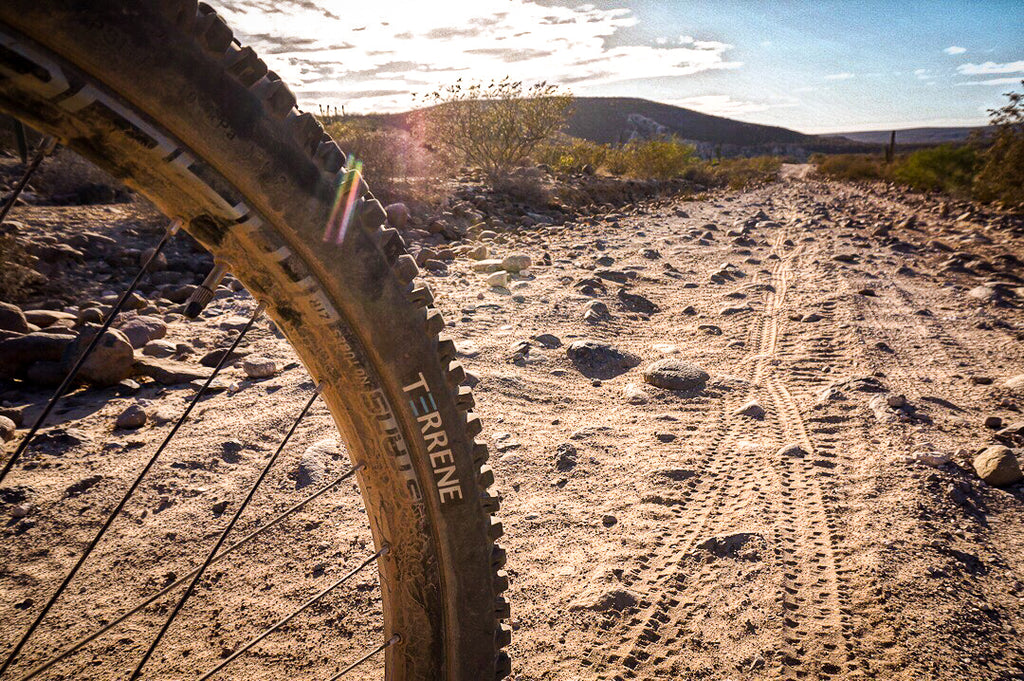
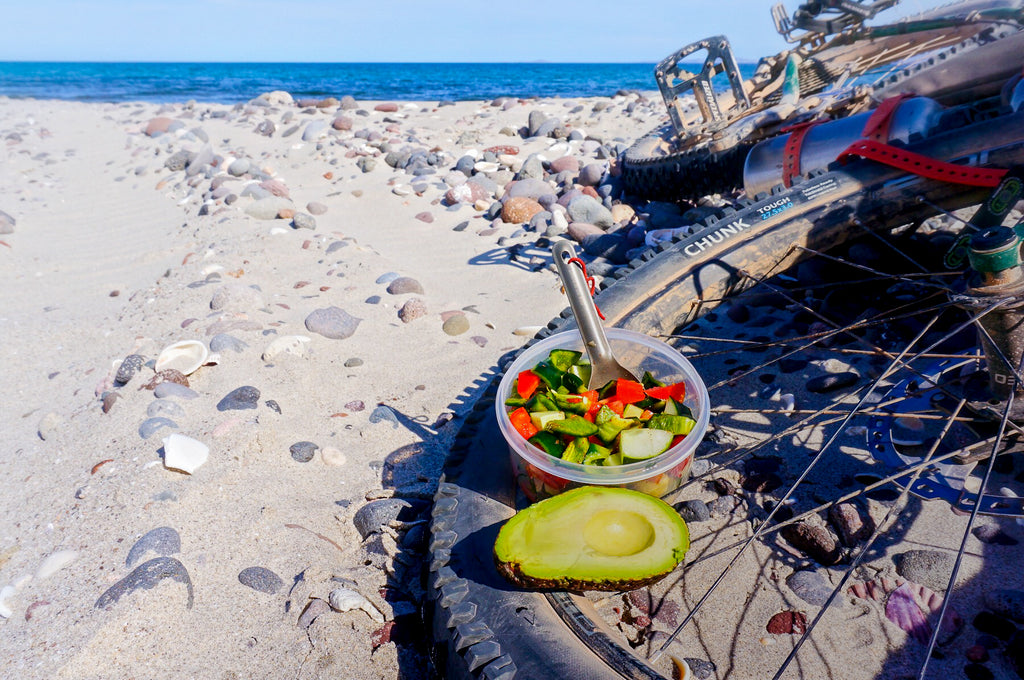
For years I’ve ridden a full suspension mountain bike with standard 26” tires. But before my current adventure I switched to a fully rigid steel frame with 27.5x3” tubeless tires. While occasionally I miss having the suspension, the plus size tires do a pretty good job of smoothing out rough terrain, and having tubeless tires has been liberating in thorny environments. I’m running Terrene “Chunk” tires; they’re super tough and I haven’t needed to do a single tire repair in over 6000 kilometers.
TOOL KIT
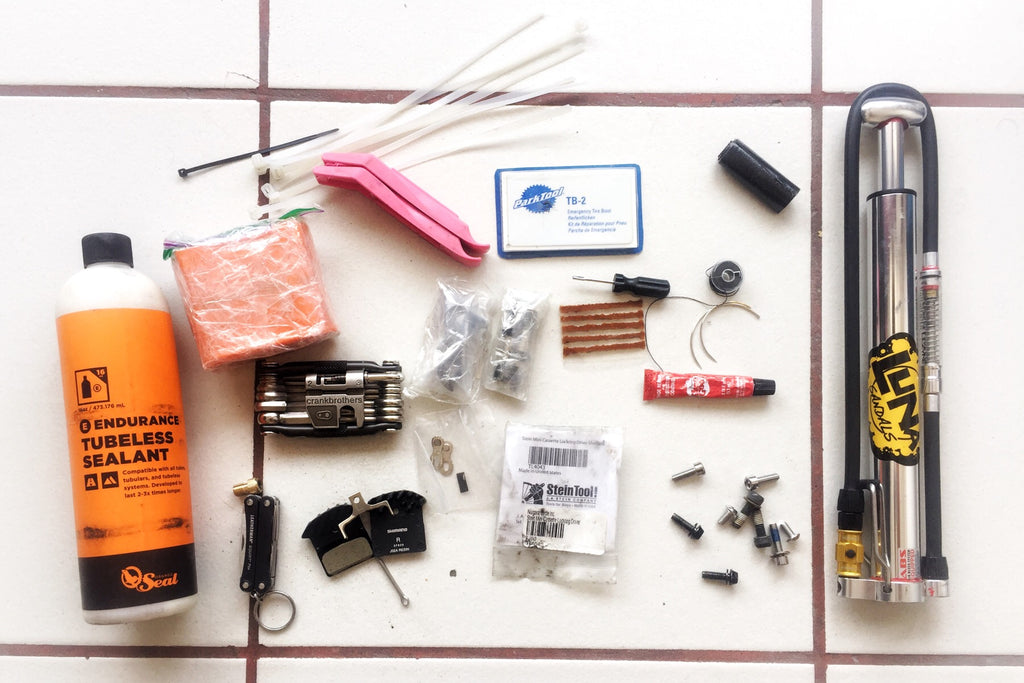
Being new to bikepacking long distances, my biggest concern was with what I needed to carry in my tool kit on a long, and remote, adventure through Latin America. I probably carry more in my tool kit than most cyclists, but it will give you an idea of what you might want to carry on your adventures.
My tool kit, when riding the trails and dirt roads near my home in Arizona, tended to run pretty lean, with just a few basics: pump, multi tool, tire levers, spare inner tube, and a patch kit. But traveling through Mexico, and primarily through rural and remote areas while on a multi-year adventure, my tool kit is pretty full these days. It includes: tire sealant, needle, thread, and Shoegoo (to repair tire damage), Lezyne “microfloor HVG” pump, Crankbrothers “M19” multi tool (my partner prefers the Topeak mini ratchet set), mini Leatherman “Squirt PS4” (with the pliers), SteinCo “mini cassette lock” (for changing out rear cassette-side spokes), tire levers, two spare valves, spare spokes, spare cables, spare brake pads, spare derailleur hanger, a few spare bolts, two quick links, a short scrap of old chain, chain lube, rag, and toothbrush (to clean the chain), tire plugs, tire boots, patch kit, zip ties, gorilla tape, tenacious tape, and an inner tube (in case I have problems reseating a tire after a repair).
I’ve recently switched to carrying the new Tubolito inner tube, which is much lighter in weight, and takes up much less space, than a traditional rubber tube. I have yet to need to use it, so I can’t tell you how well it works, but I’m happy with how little space it takes up in my tool bag.
 BOTTLE CAGES
Adding cargo style bottle cages, like the Salsa “anything cage”, the King Cage “manything cage”, or the Blackburn “cargo cage”, to the forks and down tube is a great way to carry extra food (in a small stuff sack or dry bag), and extra water without taking up space in your main bags. There are several ways to add bottle cages to your bike where it doesn’t have cage-mounts. Depending on the type of cage, you can use hose clamps to secure it to your frame or fork, just be sure to wrap tape, or a scrap of inner tube, around your frame first to prevent the hose clamp from digging into your paint. King Cage makes a hose clamp with a bolt stud welded to it that works for mounting most bottle cages. You can also use zip ties with multiple wraps of duct tape, or electrical tape, wrapped around to secure it to your bike.
BAGS
A typical bikepacking bag setup consists of a front handlebar roll, a seat bag, and framebag. Small accessory bags can be added to the top tube, handlebars, and down-tube to carry little things like snacks, tools, or a cable & lock. There are a number of large companies that make bikepacking bags that are available in bike shops, and a few outdoor gear shops like REI, but there are also a lot of small, local businesses around that make great products; try asking a few bikepackers on Instagram where they got their bags and what they like about them. Two companies closest to my home in Arizona, that make great bikepacking bags, are Roadrunner Bags in Los Angelos, CA, and Rogue Panda Designs in Flaggstaff, AZ.
Or if you just want to try a few backcountry trips without spending a lot of money right away, you can strap a stuff sack or drybag to your handlebars and to your seat/seatpost. If you’re handy with knots, a length of climbing webbing will work for this, otherwise a nylon strap with a buckle, or an extra large Voile Strap works great too.
Since I’m primarily riding dirt roads on my current adventure, I’ve changed my front and rear bags to a roll-top duffel style bag with easier access, and plenty of room for carrying a full supply of produce between resupply towns. I also ditched the frame bag so I could carry more water weight centered in my frame. If I were going to be riding more single track, something like the Colorado Trail, I’d probably switch the seat bag back to the slimmer, torpedo shaped, bag.

GEARING
I’m currently running a 2x11 setup with 24/36t chain rings on my Advocate Cycles “Seldom Seen”. My knees have been happy with this setup on the big climbs and terrain I’ve been riding so far through Mexico. Though, when I make it to the Andes, I may switch to an even smaller chain ring.
BIKE COMFORT
Invest in a good saddle. Your tushy will thank you for it. With a good saddle you can ditch the bike chamois. A lot of cyclists love the Brooks “B17” saddle, but everyone is different; I love my Brooks “Cambium C19”, with a gel cover on it; I’ve never had a more comfortable saddle setup. I’ve been riding long days, day after day, for months on end now, and I haven’t once had a sore tushy.
If you find your hands going numb, elbows hurting, or neck getting sore after riding then you’re probably weighted too much onto your hands. There are a few adjustments that can be made that should help. The way I like to envision it, is that the handlebars are just for balance—with my weight focused on the pedals, I should be able to rock forward and back between the handlebars and the seat with little effort. If that’s not the case, try changing the tilt of your seat and/or try sliding your seat forward or back on the seat rails, and if that doesn’t get you a good position then consider changing your handlebar neck stem to a longer, or shorter, stem depending on your torso length. If your knees are getting sore try raising your seat a little. I’ve recently added a stem riser to raise the height of my handle bars several inches, and I love it.
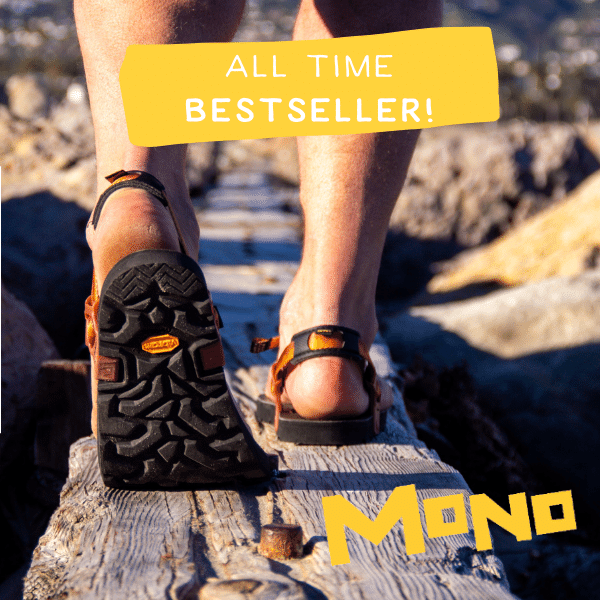
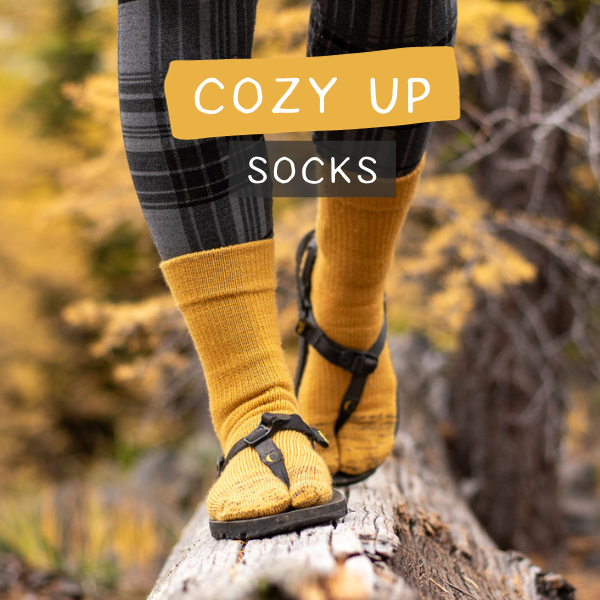
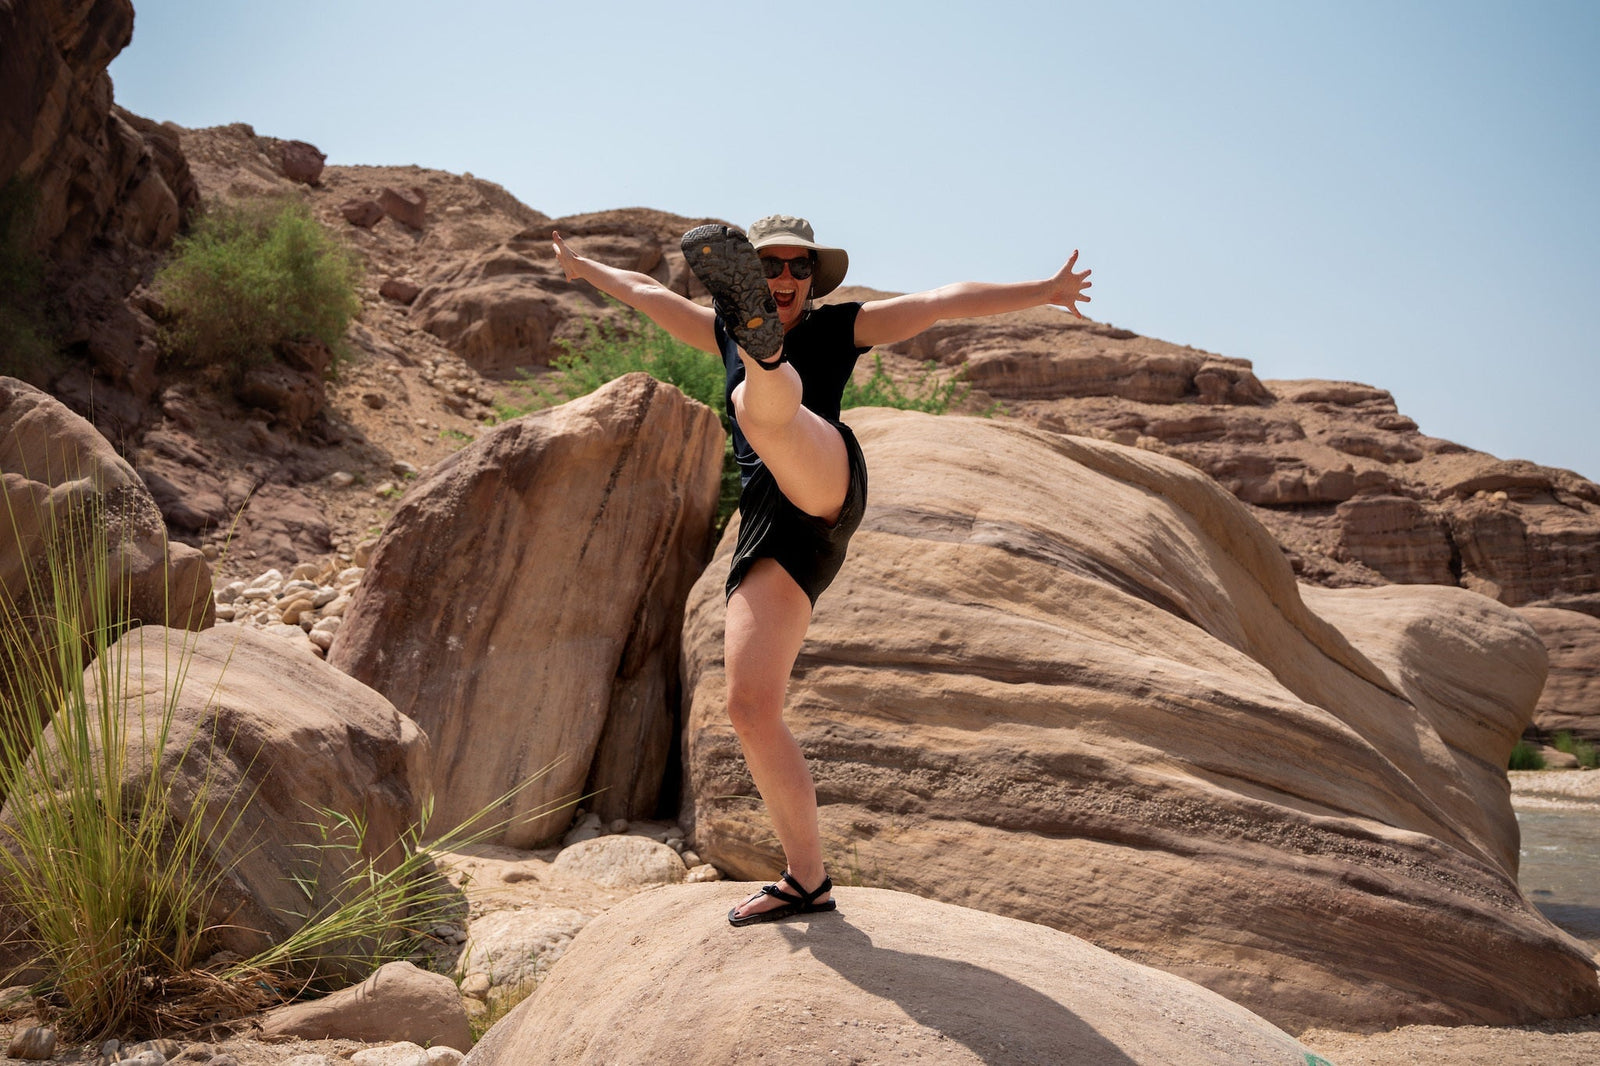
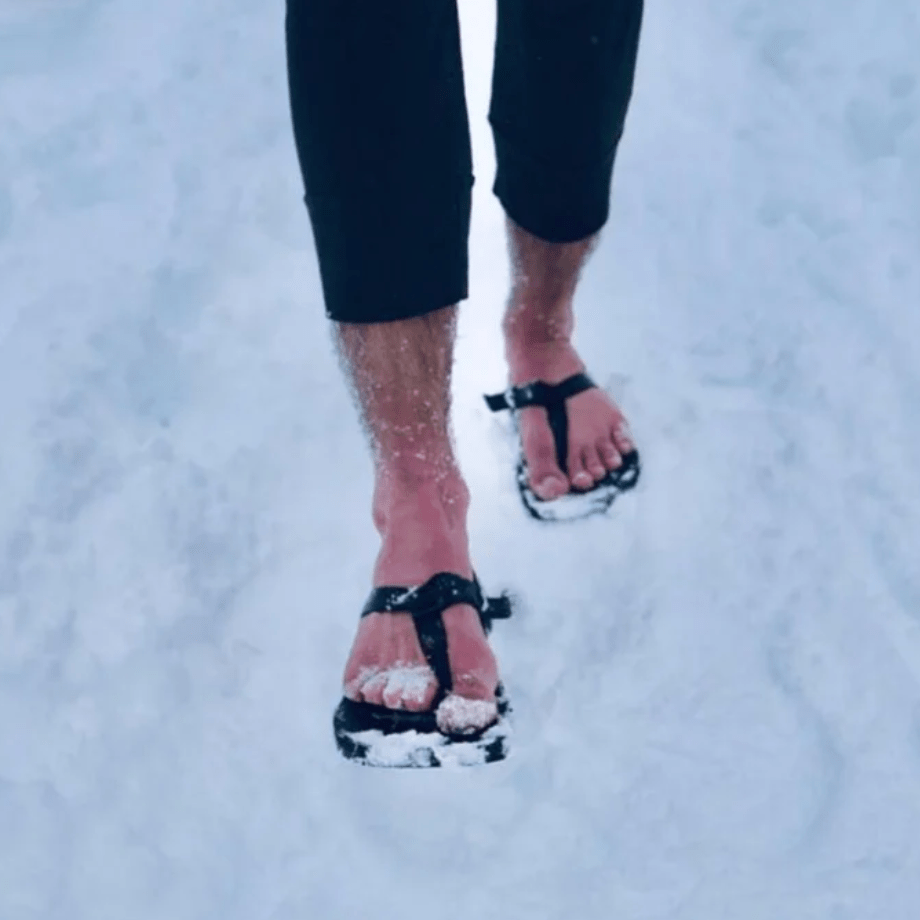
PEDALS and SANDALS
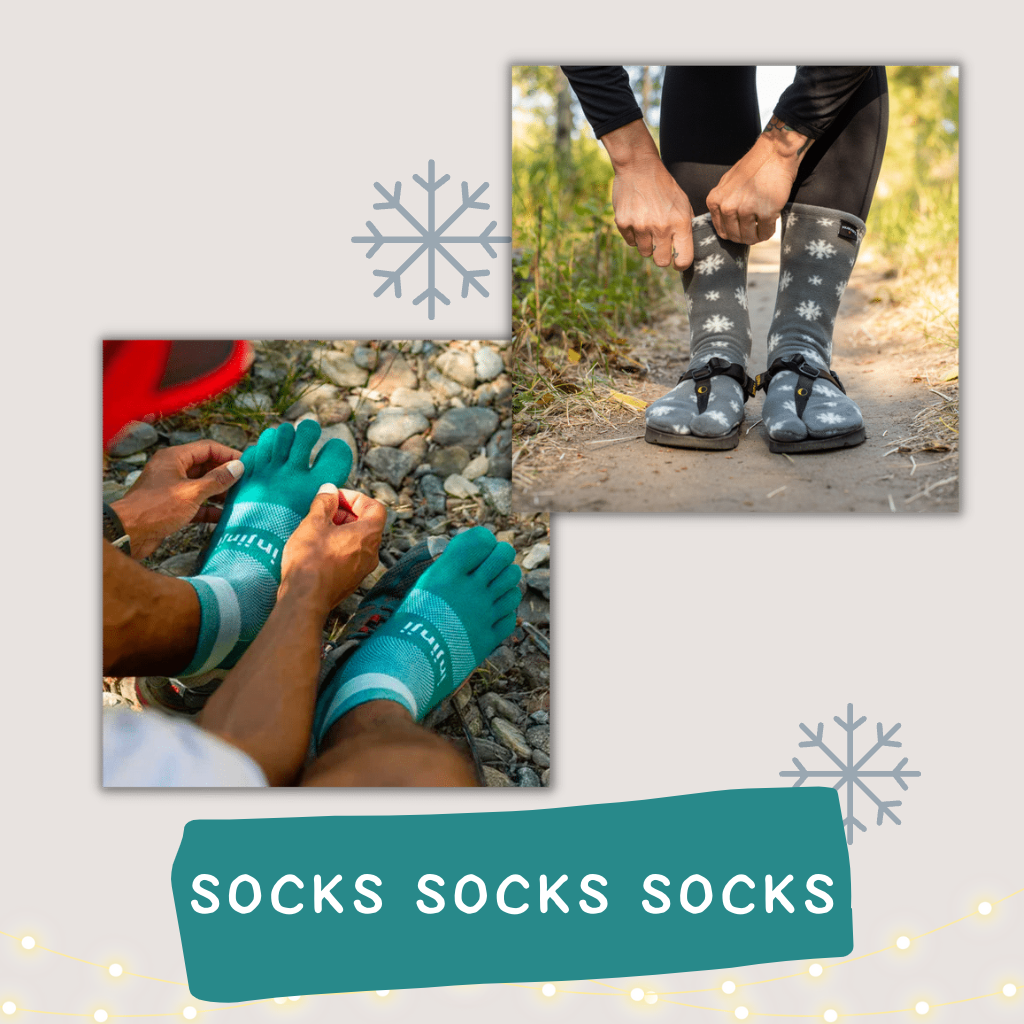
I know a lot of cyclists that prefer clip-less pedals with clip-in shoes, but I’ve never liked them. I have platform pedals and ride in my LUNA OSO 2.0’s. My feet stay comfortable, and dry quickly after stream crossings. During cold weather I use wool socks (modified to tabi) to keep my feet warm; adding a pair of Serius “stormsocks” (also modified to tabi) keeps my feet warm down to ~25°F. And if it’s cold and wet, I have a pair of homemade silnylon tabi booties that keep my feet toasty warm.
NAVIGATION
Map and compass versus GPS is an endless argument among backcountry travelers. It’s pretty rare these days that I carry a paper map, but I still find them useful for long and or particularly remote routes. My preferred method of navigation is a GPS app on my phone. In the U.S. I use GAIA GPS since it has USGS topographical maps that can be cached in the app, which are great for finding water sources or planning an exit strategy from a route. On my current adventure, traveling through Mexico, where I’m limited to open source maps, I prefer using MapOut. MapOut has some great features like the ability to easily draw new routes, distances from one point to another on a selected route segment, and elevation profiles. But whether you choose to navigate by paper or digital methods (dedicated GPS or phone apps) map skills are still essential for knowing where you’re at in the landscape, changing your route plan, and finding water. I also carry a small keychain compass as a backup.
POWER BANK
Most devices can be charged via USB these days. Having a small power bank backup battery, especially if you’re using a GPS device, is a great way to keep things charged during long sections between towns. I carry a 10,000 mAh battery by Anker, which keeps my phone, camera, Steripen, and mp3 clip charged between towns.
WATER
If your adventures are in the northeastern U.S., finding water probably isn’t much of a concern, but if you find yourself adventuring almost anywhere in the western U.S., knowing your water sources ahead of time can be essential. Many routes will have online water guides that are updated frequently. On my first thru-hike, a passing hiker told me, “carry your water in your body, not on your back”. It was great advice that has served me well. Cameling up at water sources, in hot dry areas, is a great way to stay hydrated without carrying all that extra water between sources. If you like to cook, plan on doing it at a water source so you don’t have to carry extra water weight on your bike to prepare meals.
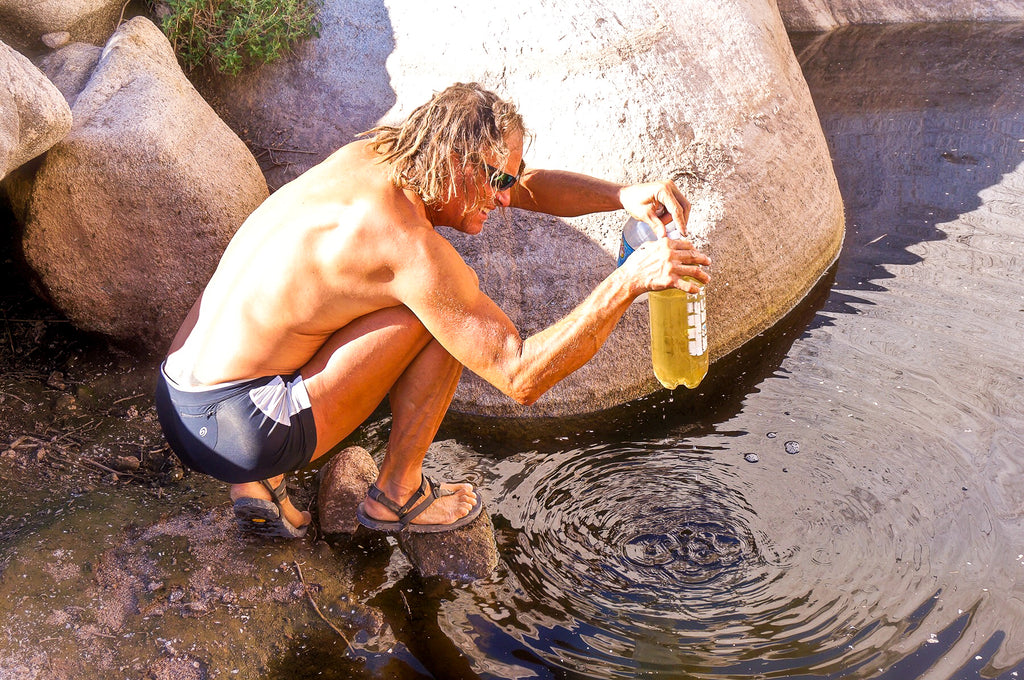
WATER TREATMENT
I’ve used a few different filters. The Sawyer “Squeeze” is small, light, and does the job, but filters are messy to store, they backup and need to be cleaned, and you have to protect them from freezing. I prefer using a SteriPEN. Since I’ve switched to using a SteriPEN, I’ve traveled thousands of backcountry miles without getting sick, a definite bonus over using a filter (at least in my experience). I have a rechargeable SteriPEN, which I can charge on trail with my power bank, so I don’t need to carry extra batteries.
STOVE versus STOVELESS
I fall in the stoveless camp, for a couple of reasons: I find the no-cook food options, like nuts, dried fruit, crackers, and peanut butter, more appealing than rice and noodles with flavor packets. I also grew up, and have lived most of my life, in the western U.S. where dry areas, drought, and forest fires are the reality. I don’t even carry a lighter on my adventures. I’ve traveled stoveless on all of my thru-hikes and bike trips.
Finding fuel is a hassle and it’s heavy. I’d rather carry the weight in food. And if I’m really in need of something starchy, there are plenty of dried goods that can be rehydrated in cold water, like ramen, couscous, and most any freeze dried food product.
If you want to pack a stove, but you’re looking for something minimalist, with more fuel options than a canister stove, then an alcohol stovemight be a good option for you. There are commercial varieties available, but you can also make your own from aluminum soda, juice, or beer cans (search online for “homemade” or “DIY” alcohol or pop can stove). They’re very light weight and easy to use, just make sure to also use a good wind screen with it to contain the flames.
NUTRITION and ELECTROLYTES
Traveling long distances in the backcountry can be depleting. Good nutrition, and staying on top of electrolytes (especially in a hot climate) is key to staying strong. There are plenty of prepared electrolyte mixes available at most bike shops and outdoor gear shops, but it’s also easy, and cheaper, to make your own (search online for “homemade” or “DIY” electrolyte recipes).
It can be challenging to resupply in small rural towns. My strategy on long distance hikes in the U.S. has been to keep it simple, eating fresh produce while in town, and packing out an assortment of plain nuts, dried fruit, chia seed, olives, whole grain crackers, and sometimes canned fish. Some people prefer to mail themselves packages, general delivery, of their favorite foods, to post offices near their route. Traveling by bike has made resupplying easier for me, in that I don’t mind carrying a little more weight, and so I often pack produce and other fresh food between resupply towns.
THE BIG THREE
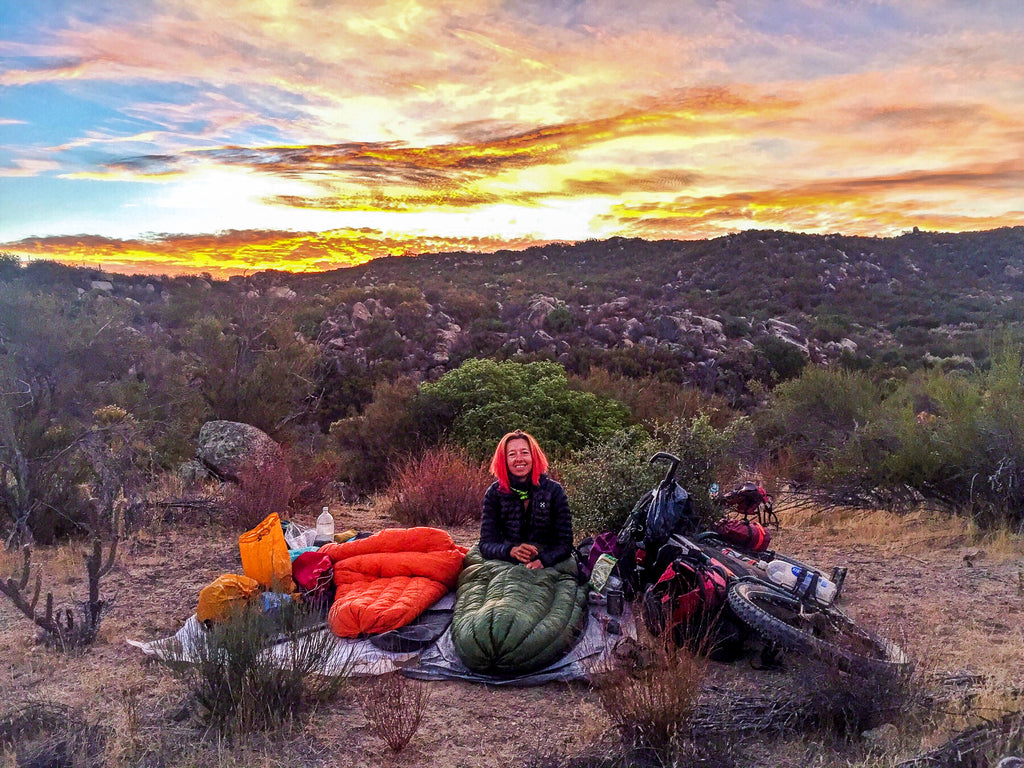
For thru-hiking, where all the weight is carried on your back, the biggest weight savings comes from investing in a lightweight pack, tent, and sleeping bag. For bikepacking, while the bike bags tend to be heavier than a lightweight pack, you can still save weight, and bulk, by investing in a good sleeping bag (or quilt) and a minimalist shelter. I’m a very cold sleeper so I’m currently packing a 10°, dry-treated, down quilt by Enlightened Equipment. It keeps me toasty warm on the coldest nights, and since it’s dry treated it stays warm even if it gets wet. Katabatic Gear and Zpacks also make great ultralight sleeping bags and quilts. New makers are popping up all the time; ask around to see what others have and what they like or don’t like about it.
For shelter, I’m packing a Zpacks “duplex” (2 person) tarp tent, weighing in under two pounds including all the stakes and two foldable carbon tent poles. My partner and I have been using their tents for years. They’re super light and strong, even in high winds. I like the built in screen in buggy areas, and the two doors for access and good airflow. Hyperlite Mountain Gear also makes great lightweight tents/ shelters. Gossamer Gear makes a sweet tarp shelter (the Twinn Tarp) with a great price point. These are just a few companies that make ultralight shelters. Ask around (and search online) and I’m sure you’ll find more, but you won’t find them in any big outdoor gear stores. The lightest, more traditional, double-wall, free-standing tents I’m familiar with are the Fly Creek models made by Big Agnes, but they still weigh significantly more than a tarp tent.
I also carry a lightweight groundsheet, since as much as I love my tent, if the weather is nice and the bugs are mellow, I prefer to just sleep out under the stars.

LAYERS
Dress in layers to accommodate a range of temperatures. A lightweight insulated “puffy” jacket combined with a long sleeve shirt (synthetic or wool) and light rain jacket is enough to keep me warm in most environments. A lightweight pair of leggings, worn under my shorts, is usually enough for my legs. Worn all together with light gloves, a Buff, and my rain jacket keeps me comfortable down to freezing. On the coldest nights I’ll even sleep in all my warm layers, and sometimes my rain gear too. Something I’ve often heard on my thru-hikes is, “If at some point you’re not wearing all the layers you packed, then you packed too much.”
STAYING DRY
My favorite rain gear is the set I made myself from silnylon. It includes a pullover rain jacket with a hood, a skirt, chaps, mittens, and booties. I’ve used the same set on all my thru- hikes and now on the bike too. Though recently, I switched to a lightweight rain jacket with pit-zips and a zippered front, which I really like for the climate in Mexico. Zpacks is the only company I know of that makes a full compliment of ultralight rain gear, though I’m sure if you search around online you’ll find more. If it’s unlikely to rain where you plan to adventure, but you still want to have something on hand, an emergency plastic poncho, or even a big black trash bag, might work for you. If the weather really turns south, stop and set up your tent, don’t risk hypothermia.
MULTIPLE USES
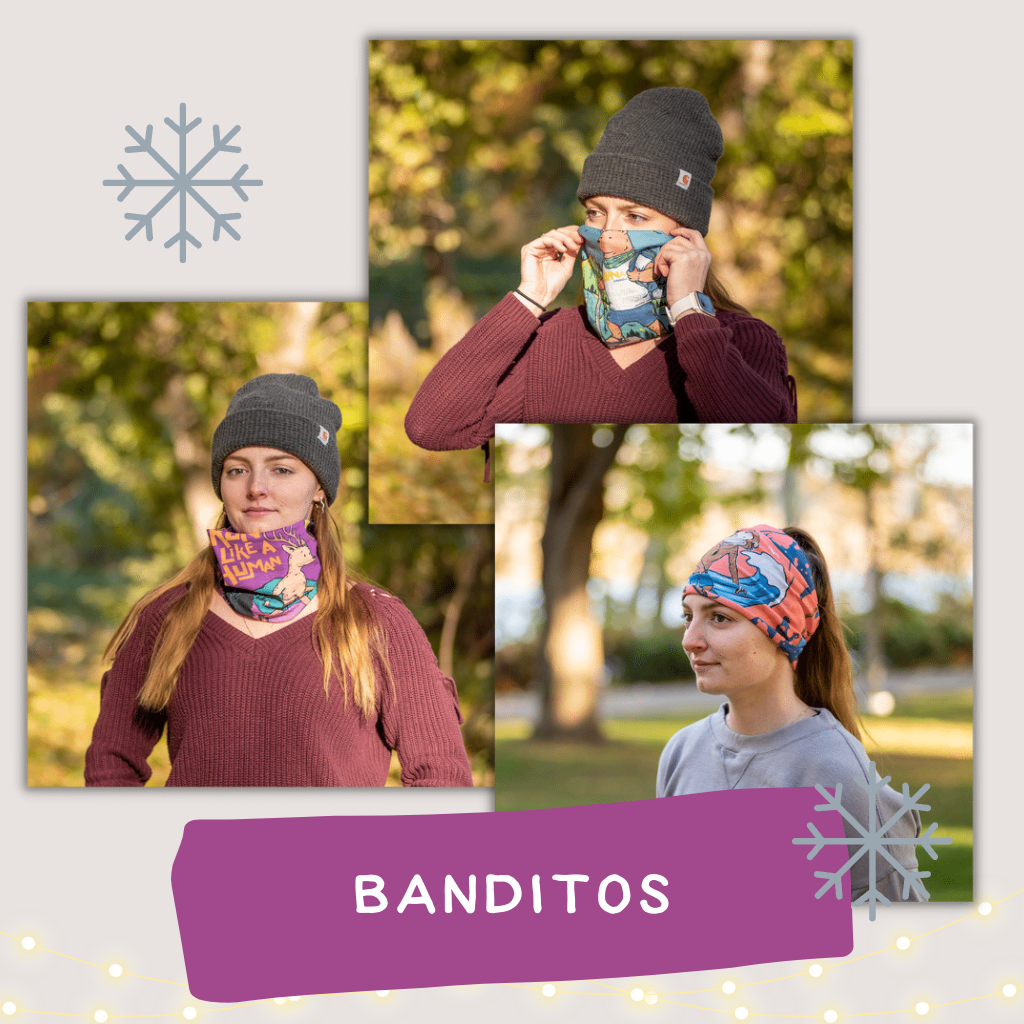
Packing items that have multiple uses is another way to save weight. For example, olive oil adds nutrient rich calories to meals, it works great as an anti-chafe and a moisturizer. A Buff can be used as a neck gaiter, a beanie, or balaclava. A lightweight button-up shirt works as a warm layer, a sun shirt, or a bug layer.
NOTHING MAKES UP FOR EXPERIENCE
There are a ton of things I could add to this list for traveling light in the backcountry, but these will get you started. Nothing makes up for experience. Start small, but start; things don’t have to be perfect to work. You’ll learn more and get stronger with each new adventure. My best advice is to get outside and sleep under the stars; even a little time in wild nature is worth the effort.


Katy
March 08, 2021
I saw a travel documentary on Netflix that’s similar to this. I think it’s cool if your friends are with you on the road.